
Trial period and storage
This page explains the free trial and how to choose and configure where your files are stored. There are two choices: your own storage, or DioTrans R2.
1How the free trial works
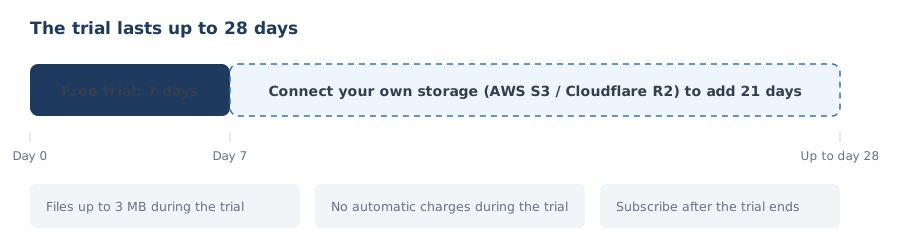
- After signing up, you can use DioTrans free for 7 days.
- Connecting your own storage (AWS S3 / Cloudflare R2) during the trial extends it by 21 days, for a maximum of 28 days.
- During the trial, files are limited to 3 MB each (the limits on the number of files and recipients are the same as paid plans).
- No credit card is required during the trial, and you will not be charged automatically.
- The remaining days and status are shown under “Settings > Subscription”.
When the trial ends, some features such as creating new transfers stop until you subscribe to a paid plan. You can still view past logs regardless of your subscription status.
2Choosing a storage plan
On the “Select a storage plan” screen, choose which storage to use.
| Plan (tax excluded) | Monthly | Best for |
|---|---|---|
| Use your own storage (AWS S3 / Cloudflare R2) | ¥980 | You already have an AWS or Cloudflare account and want to manage the bucket and data yourself. Connecting it extends the trial by 21 days. |
| Use DioTrans R2 | ¥1,980 | You prefer not to prepare or manage storage. No extra setup is required. |
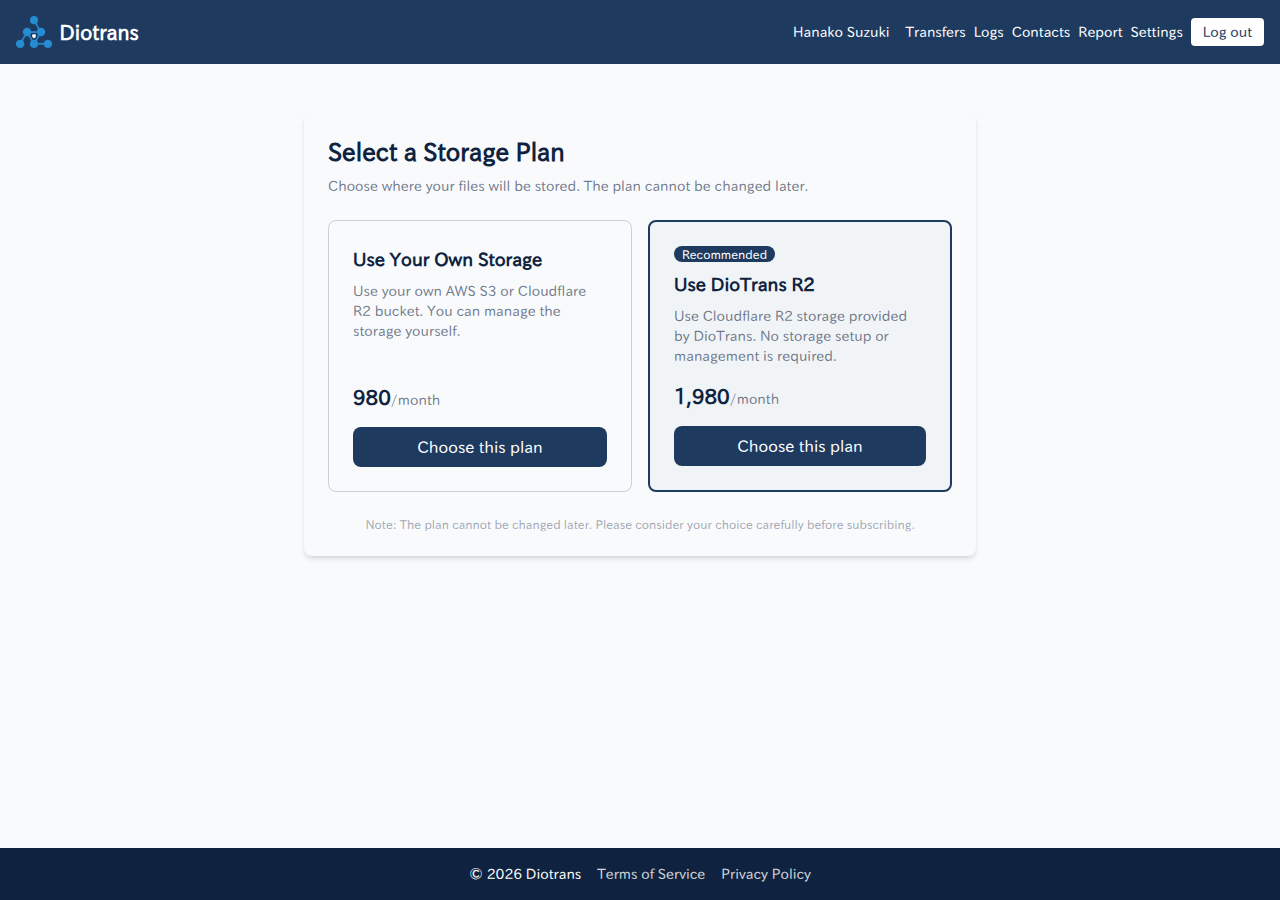
Once you subscribe, the storage plan cannot be changed, so consider your choice carefully before subscribing. It determines where your data is stored and who manages it.
3Connecting your own storage
If you chose your own storage, connect AWS S3 or Cloudflare R2 as follows (administrators perform this setup).
Create a bucket
Create a bucket for file storage in AWS S3 or Cloudflare R2. An existing bucket can be used.
Configure CORS on the bucket
Because files are uploaded and downloaded directly from the browser to storage, CORS must be configured. The settings screen includes examples for both S3 and R2 under “Bucket CORS configuration is required” (click to expand). Without it, transfers are blocked by the browser.
Create access credentials
Create an IAM access key for AWS S3 or an API token for Cloudflare R2. The required permissions are
PutObject,GetObject, andDeleteObject, plusListBucket(prefix:diotrans/) for connection tests.Enter the connection details
Under “Settings > Storage”, enter the provider (AWS S3 / Cloudflare R2), access key, secret access key, bucket name, and region. A CloudFront domain is optional.
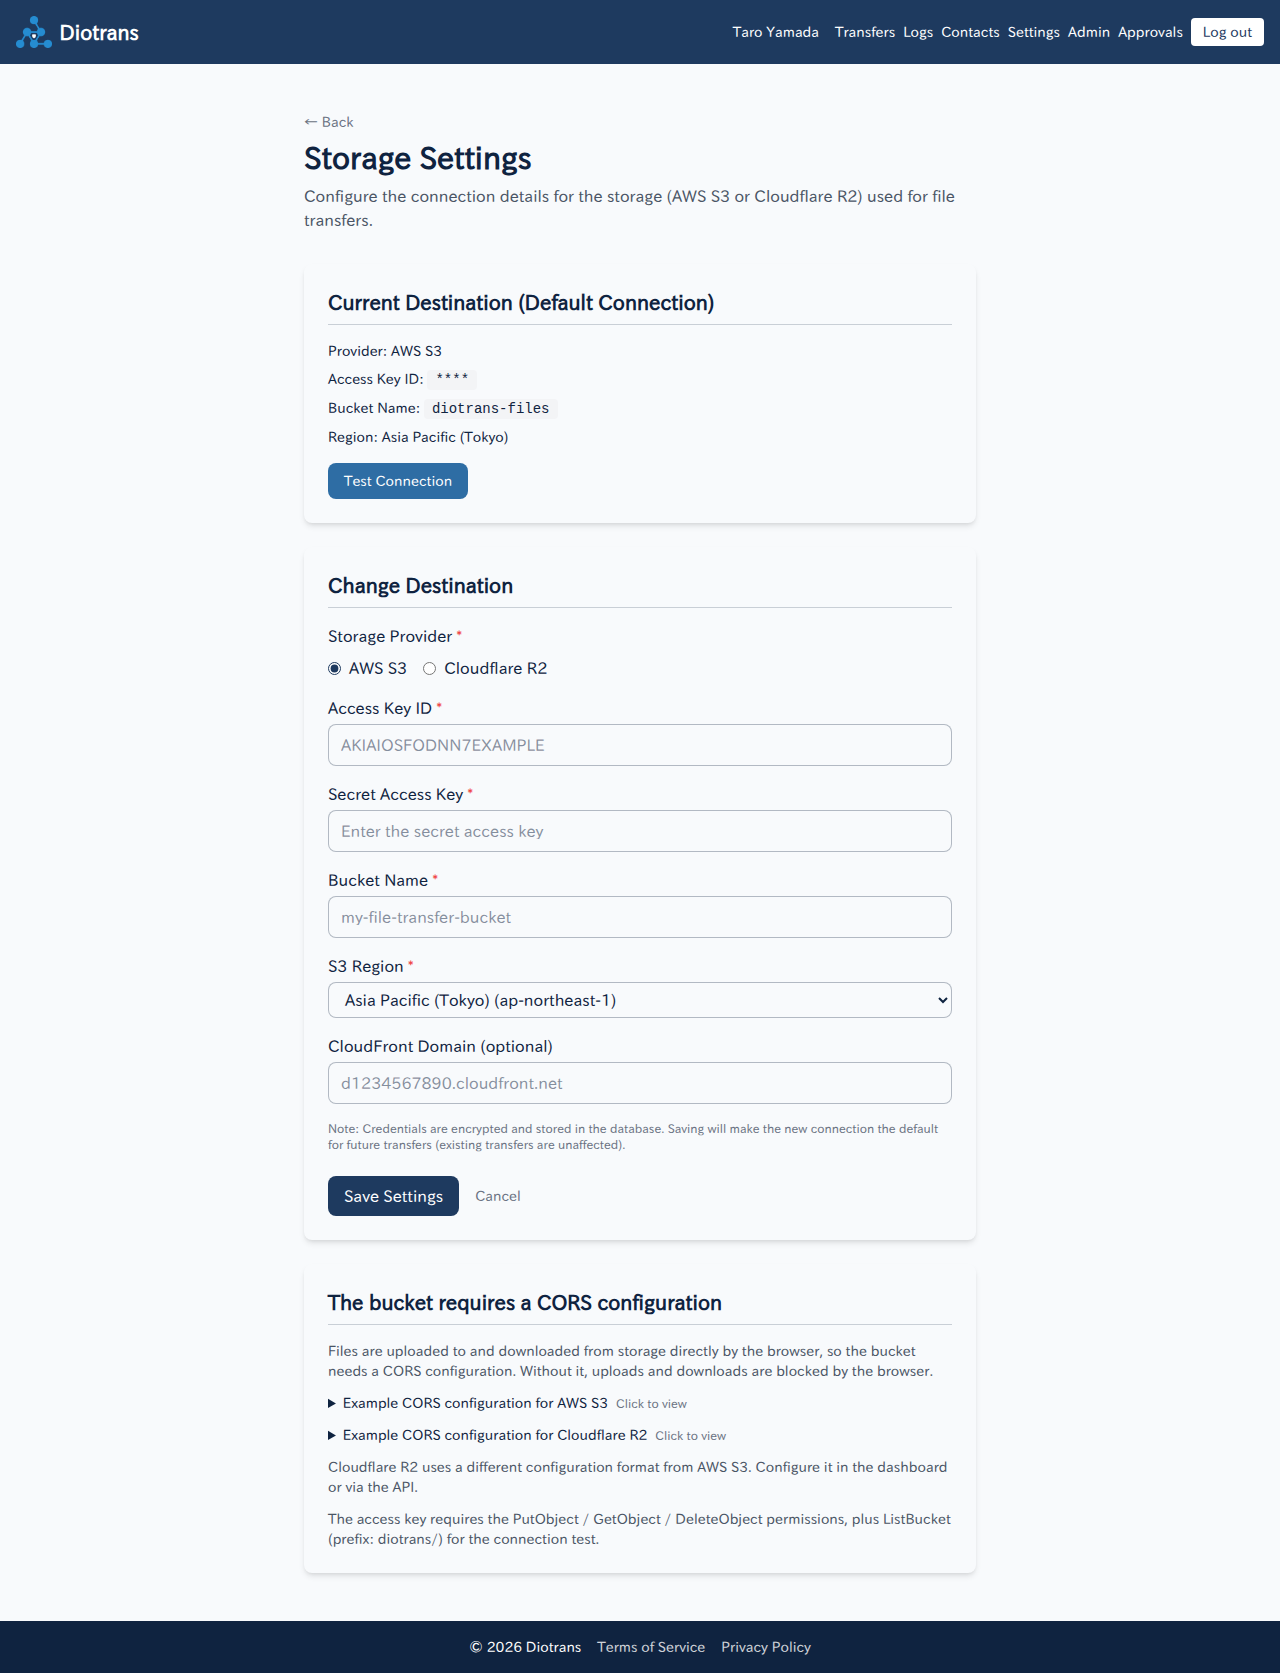
Storage settings (administrators only). Always run “Test connection” after entering the details. Test the connection and save
After a successful connection test, choose “Save settings”. The new connection becomes the default for future transfers. Credentials are stored encrypted in the database.
Changing the storage does not affect transfers created earlier: they keep using the connection that existed when they were created, so receiving and expiry cleanup are unaffected.
4Using DioTrans R2
If you chose DioTrans R2, there is nothing to prepare or configure. Under “Settings > Storage” the screen shows “Using system-provided Cloudflare R2”. Usage is shown in the admin dashboard.
5Moving to a paid plan
To keep using DioTrans after the trial, subscribe to a paid plan. See Plans and billing for the steps, invoices, and cancellation conditions.
See Pricing and Billing, cancellation and refunds (Japanese) for details.